Layout
Large Format Printing The Smart Way
01 Layout Editor
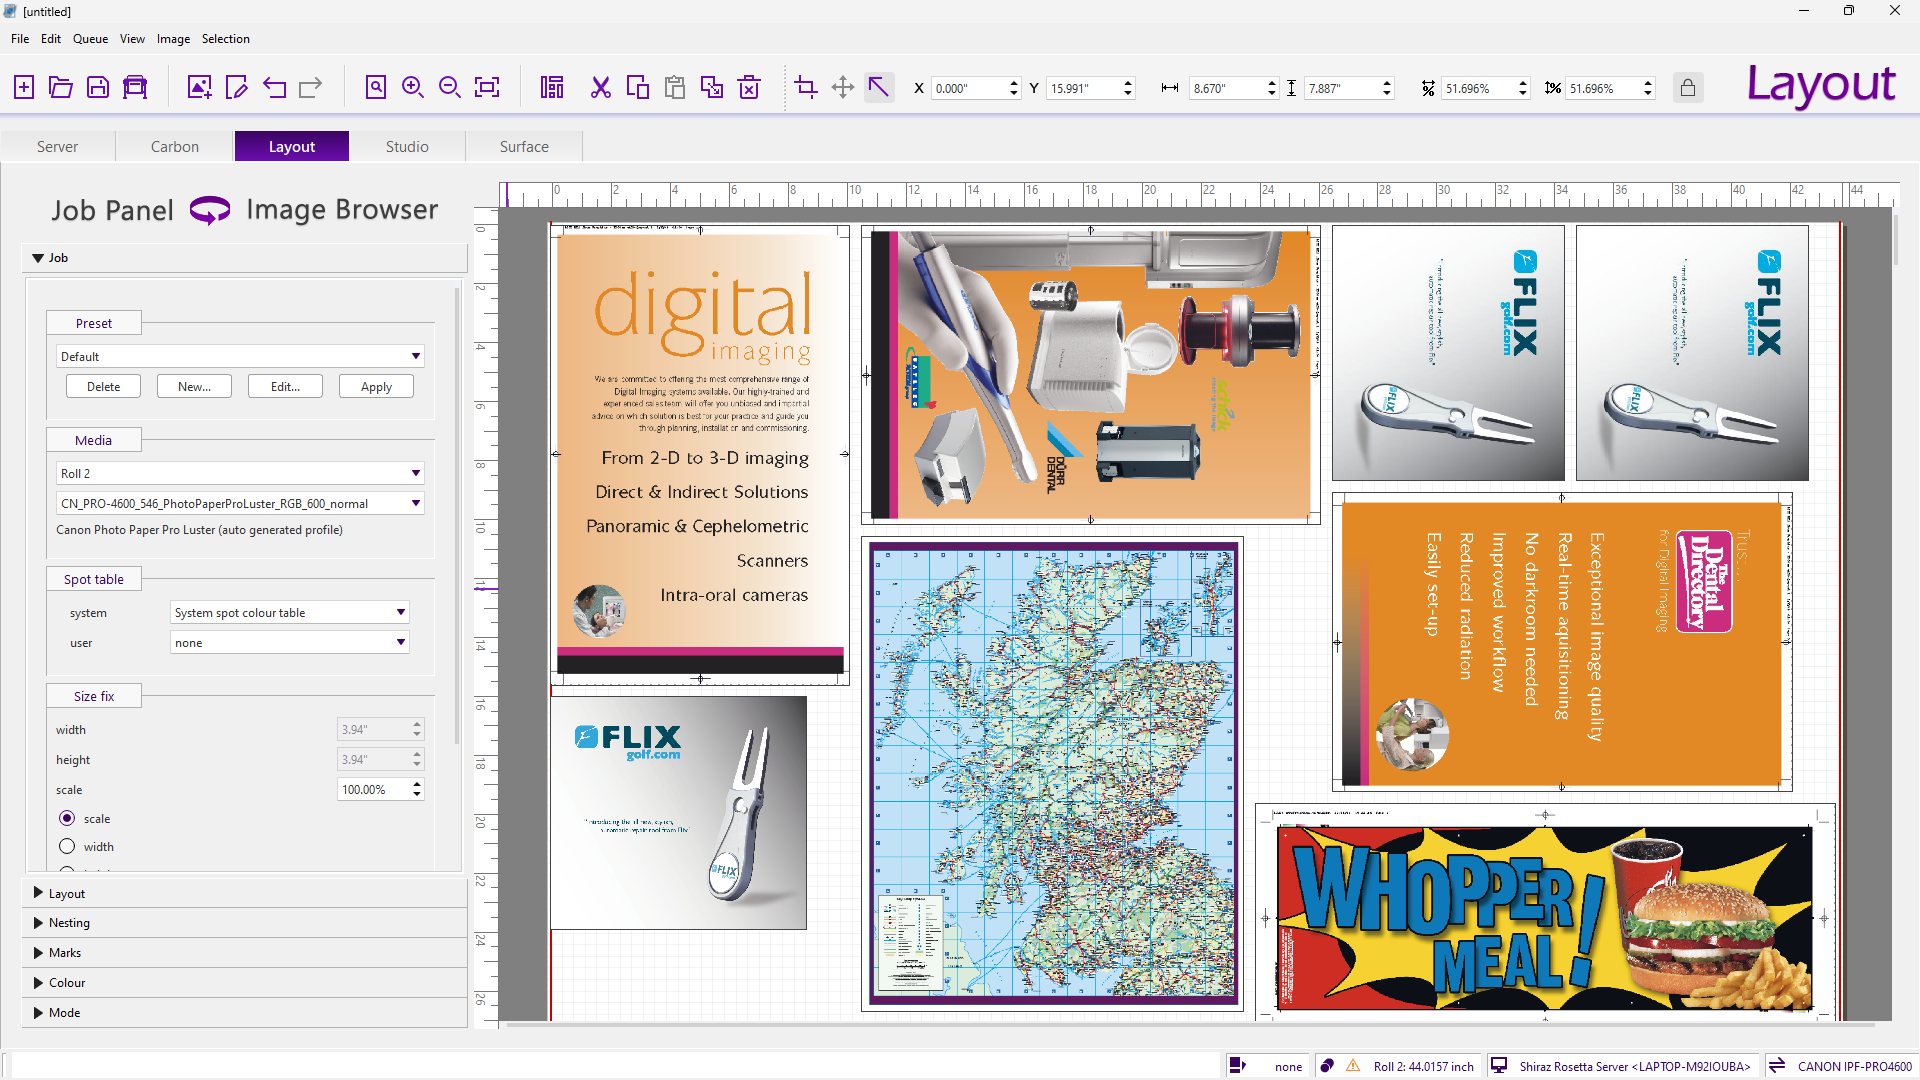
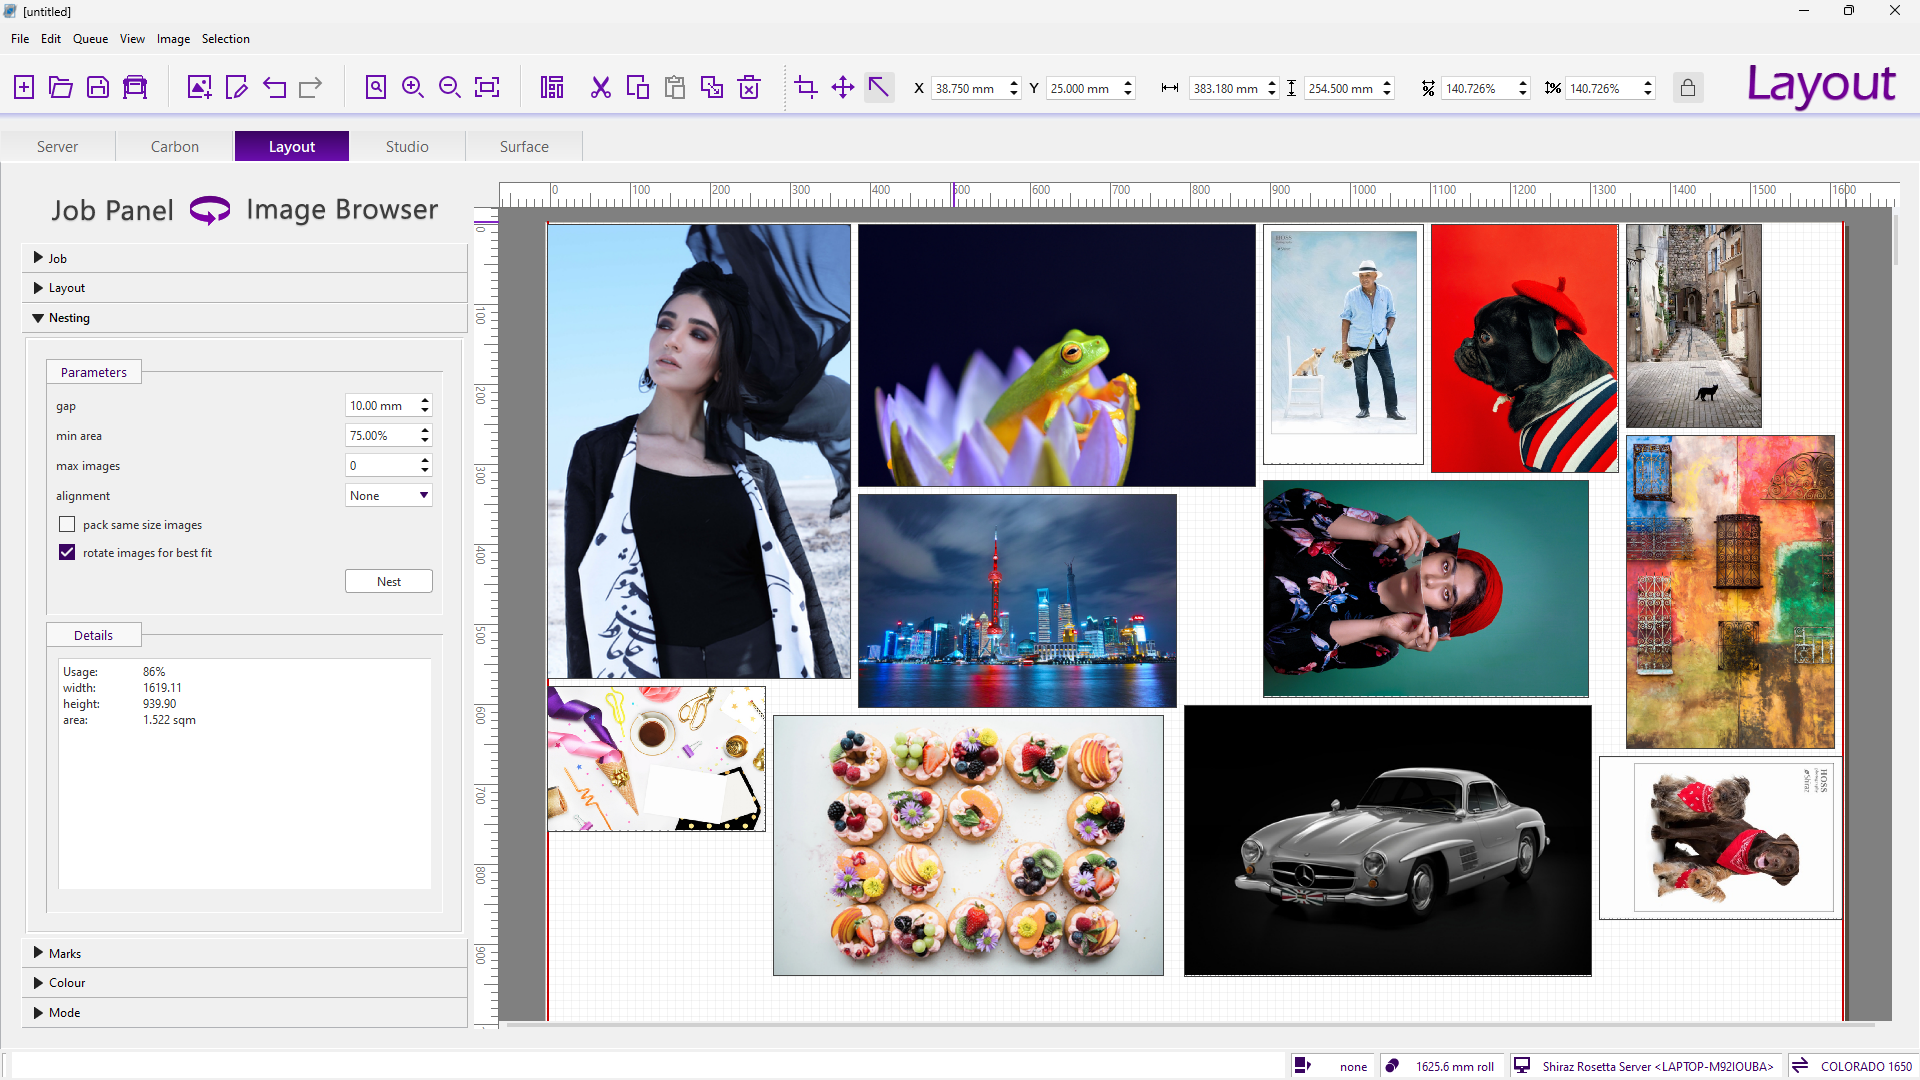
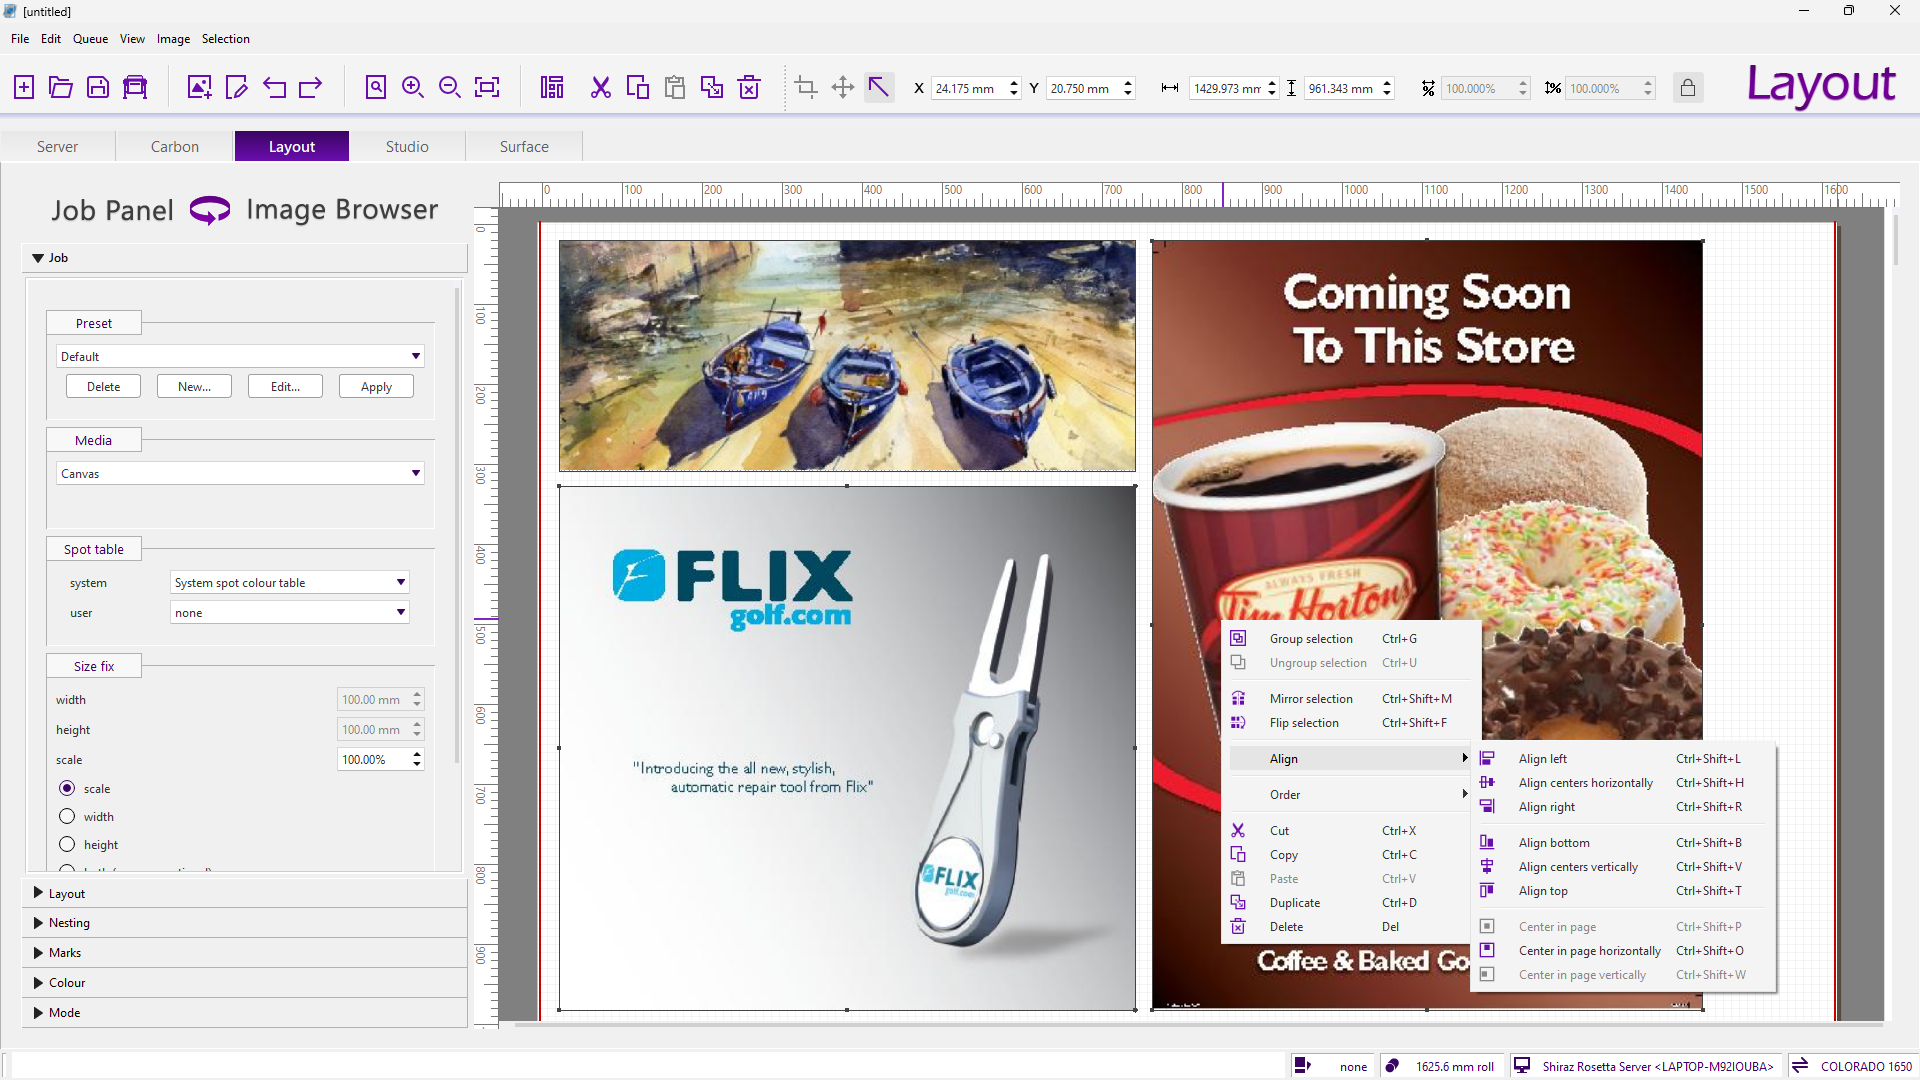
The layout front end of the Rosetta RIP allows the user to design their print jobs quickly and accurately. Image files of various formats can be placed anywhere on the layout area and manipulated in any way required before submitting them to the print queue. The layout area is automatically set by information fed back from the connected printer. The WYSIWYG layout editor then enables the users to quickly and accurately create their print jobs. Other advanced features such as colour correction, spot colour support, cropping, tiling, nesting, step & repeat etc. are all included as standard.
02 Step and Repeat
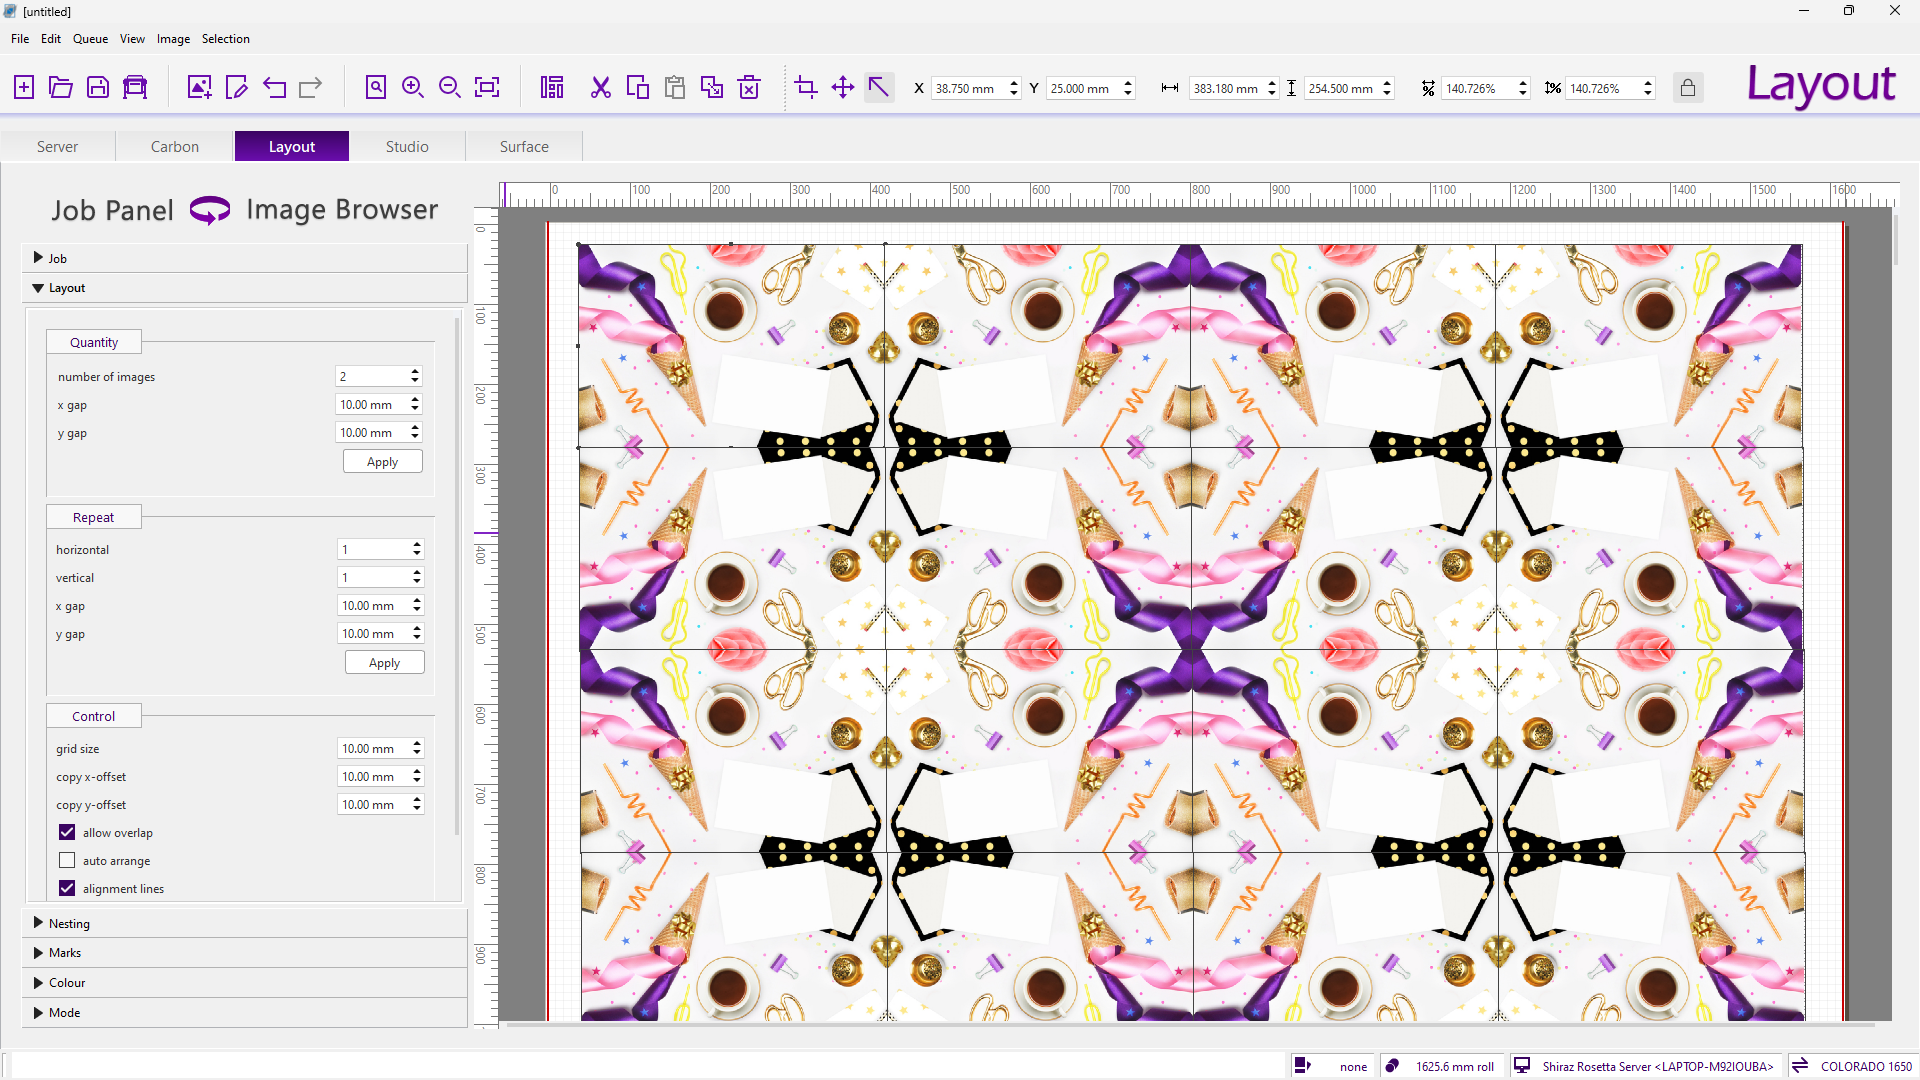
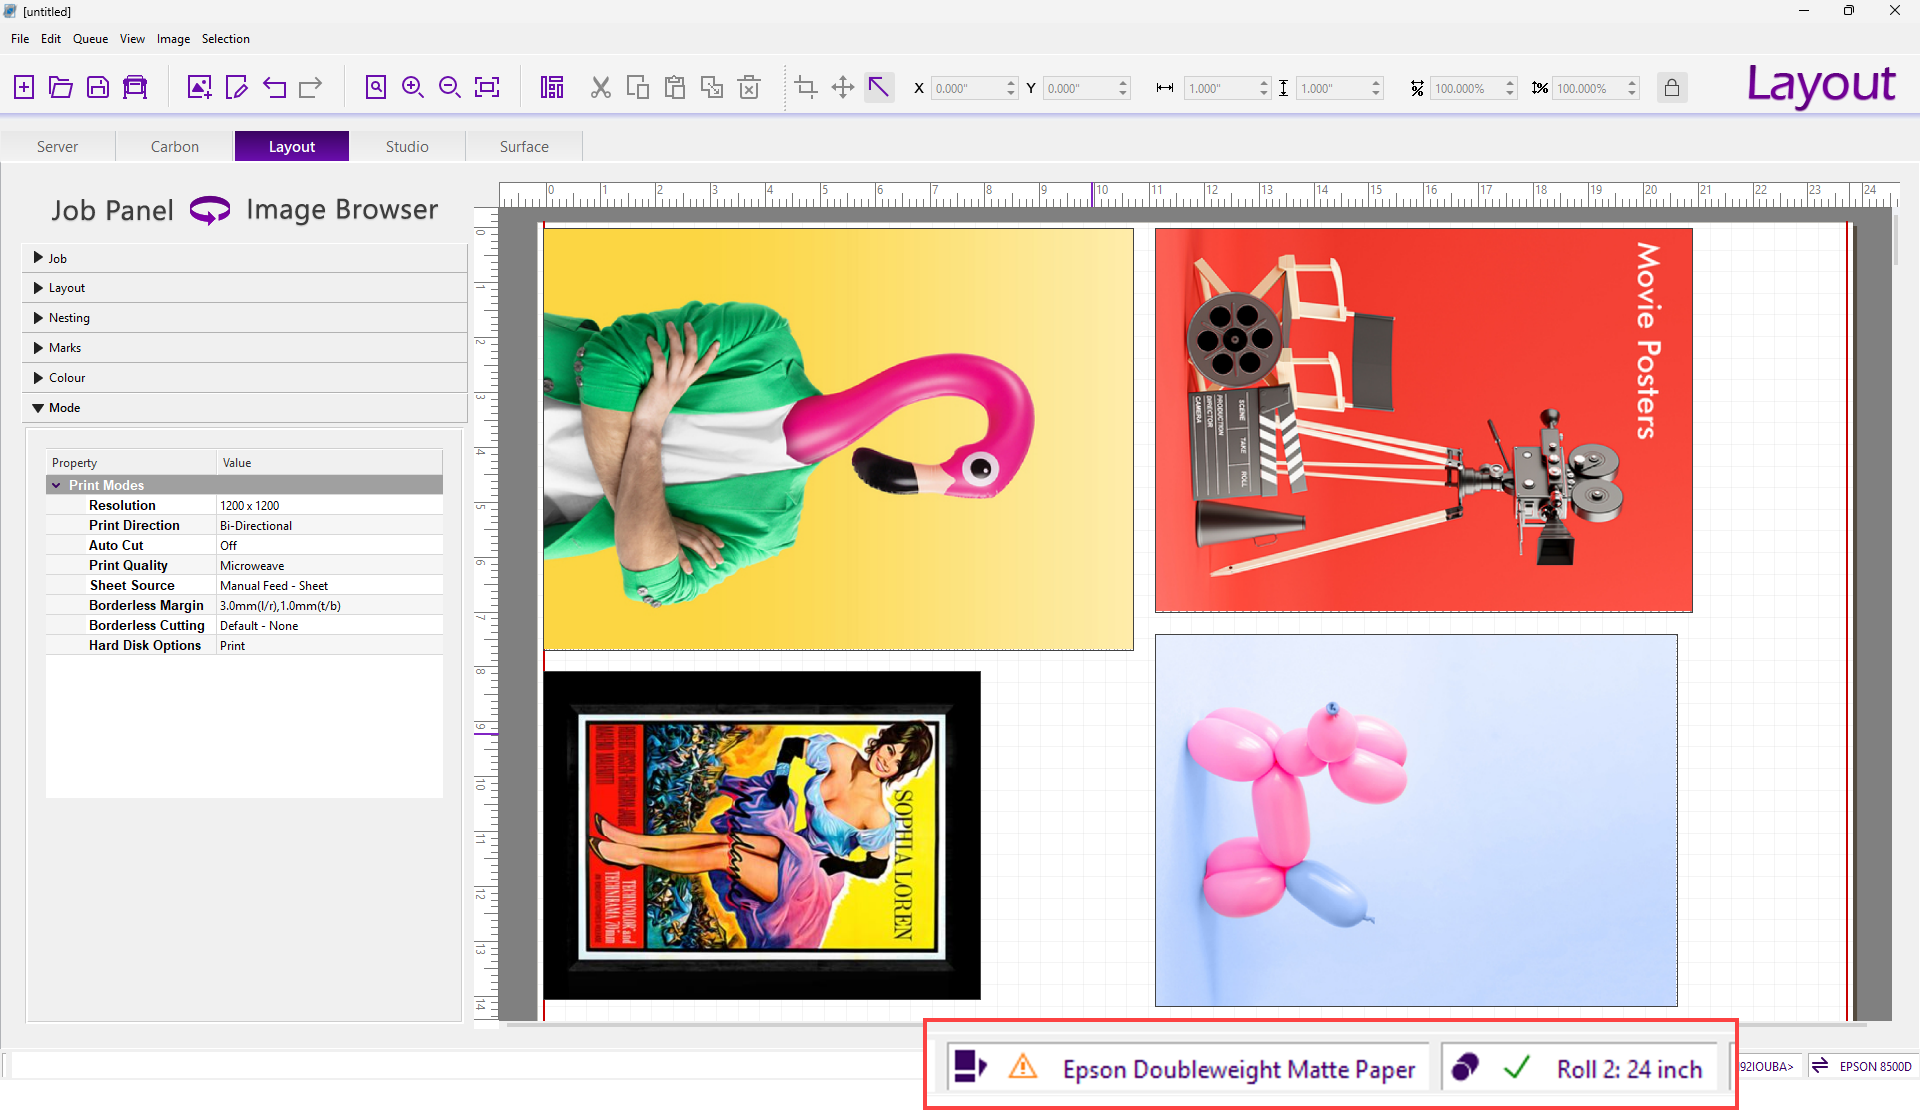
This is where all submitted jobs are managed and processed for output to the connected printer. It includes all the features and functionalities of a high end print server. All incoming jobs are checked against the currently loaded media size and type. Any mismatch detected such as the wrong media type will automatically hold the corresponding jobs till the right media type is loaded. Similarly if an incoming job cannot be fitted to the current media size then it will also be held till the right roll size is loaded. Jobs that are sent for automatic nesting on the same media are efficiently grouped and nested together. Nested jobs can be examined and manually edited if required.
03 Tilling Module
This versatile and powerful module enables operators to easily and quickly divide their oversized images to regular or irregular number of user defined tiles. Overlap or cut-out can be specified to allow for perfect assembly. Crop marks and job labels can be automatically placed to assist with trimming and finishing. All tiles are individually saved and can be re-printed if required. Specify the exact overlap or cut out dimensions required between adjacent tiles. Deselect tiles that are not required for output. Add crop/overlap marks and job labels and then submit to the layout. All Tiles are then nested and printed in one layout job. Tiling templates can be saved and recalled for similar jobs in the future.
04 Colour Correction
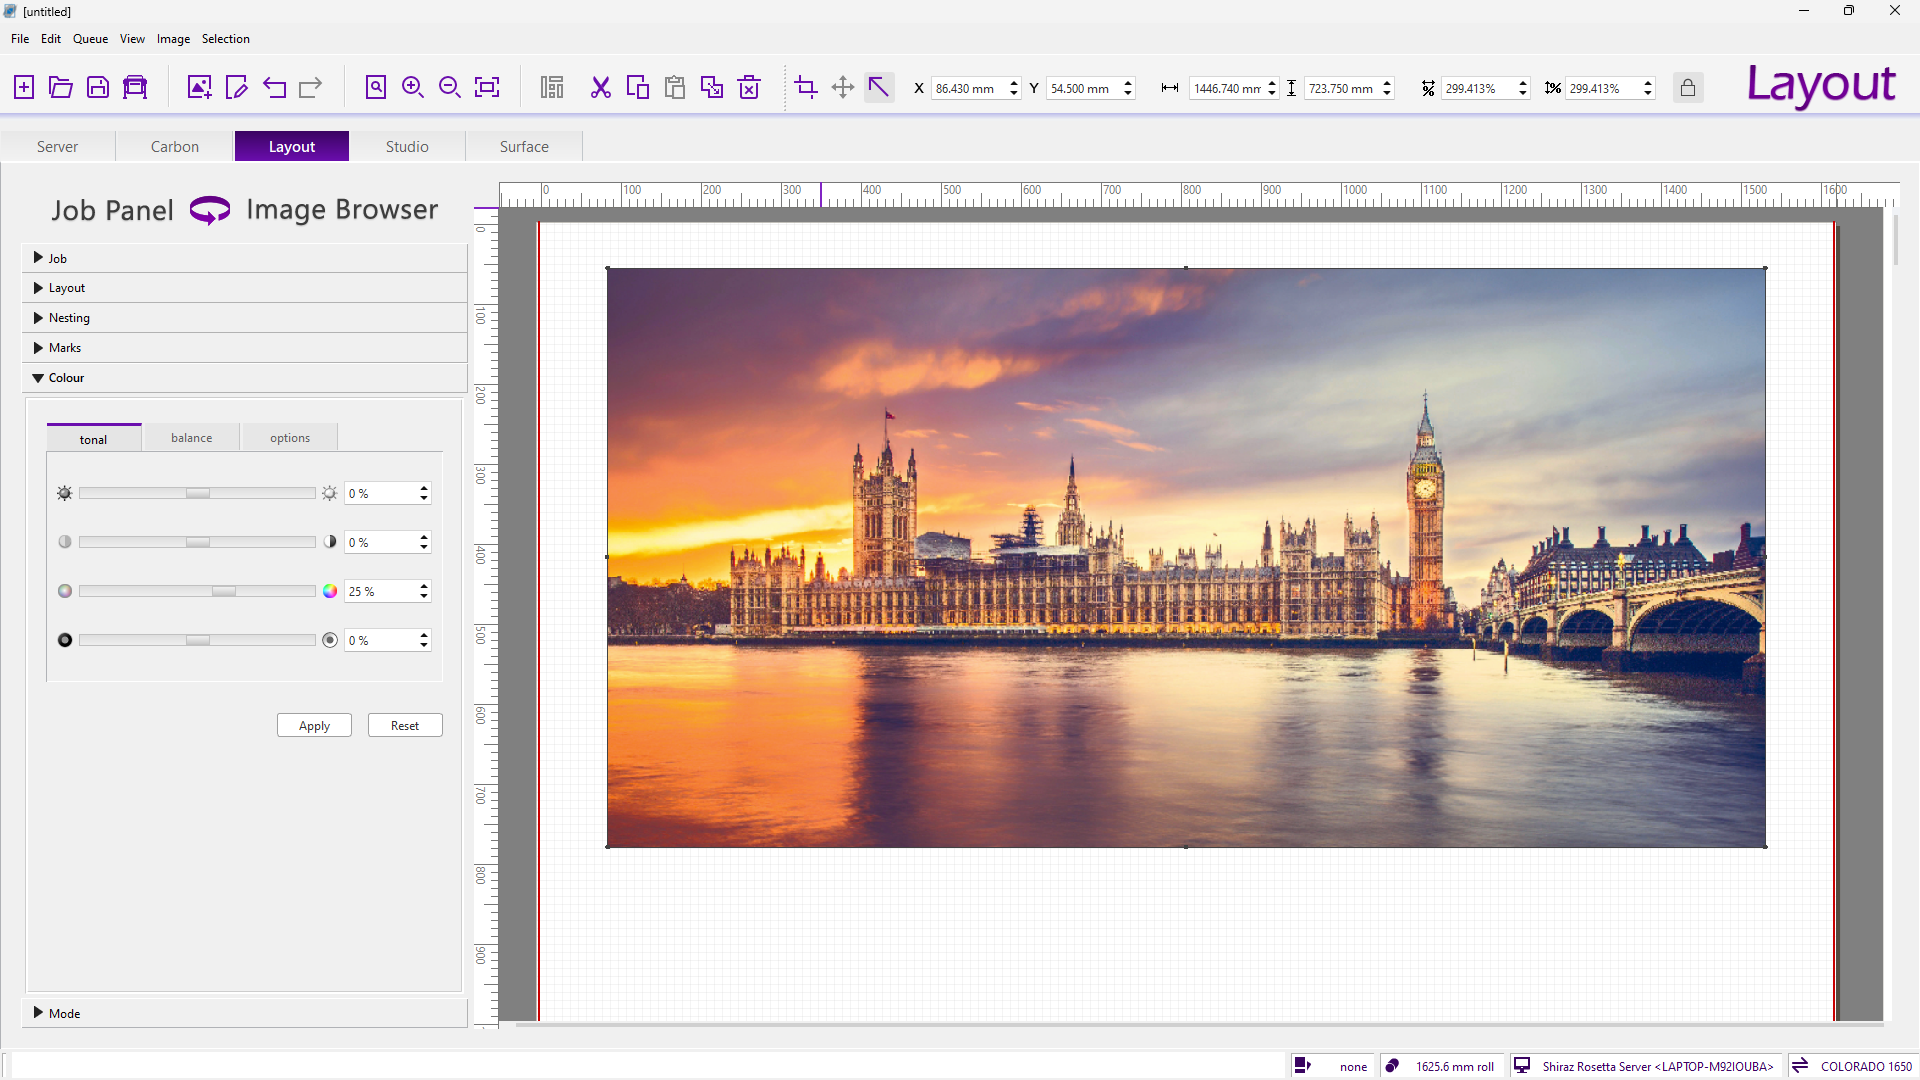
Live and accurate preview of colour filters as applied to selected images. Utilise the comprehensive list of colour editing features available here to visually alter and enhance images. Any correction made are applied to the selected images as would be when actually printing them and all previews are colour managed to show the colour alterations faithfully. Special filters can be applied to images for specific effects such as sepia and grey scale. Other options available here include simulation of other printing processes for proofing or production purposes. All primary and secondary colours within images can be maintained as original colour mix if needed. Overprint settings in the original file can be applied or switched off.
05 Image Paneling
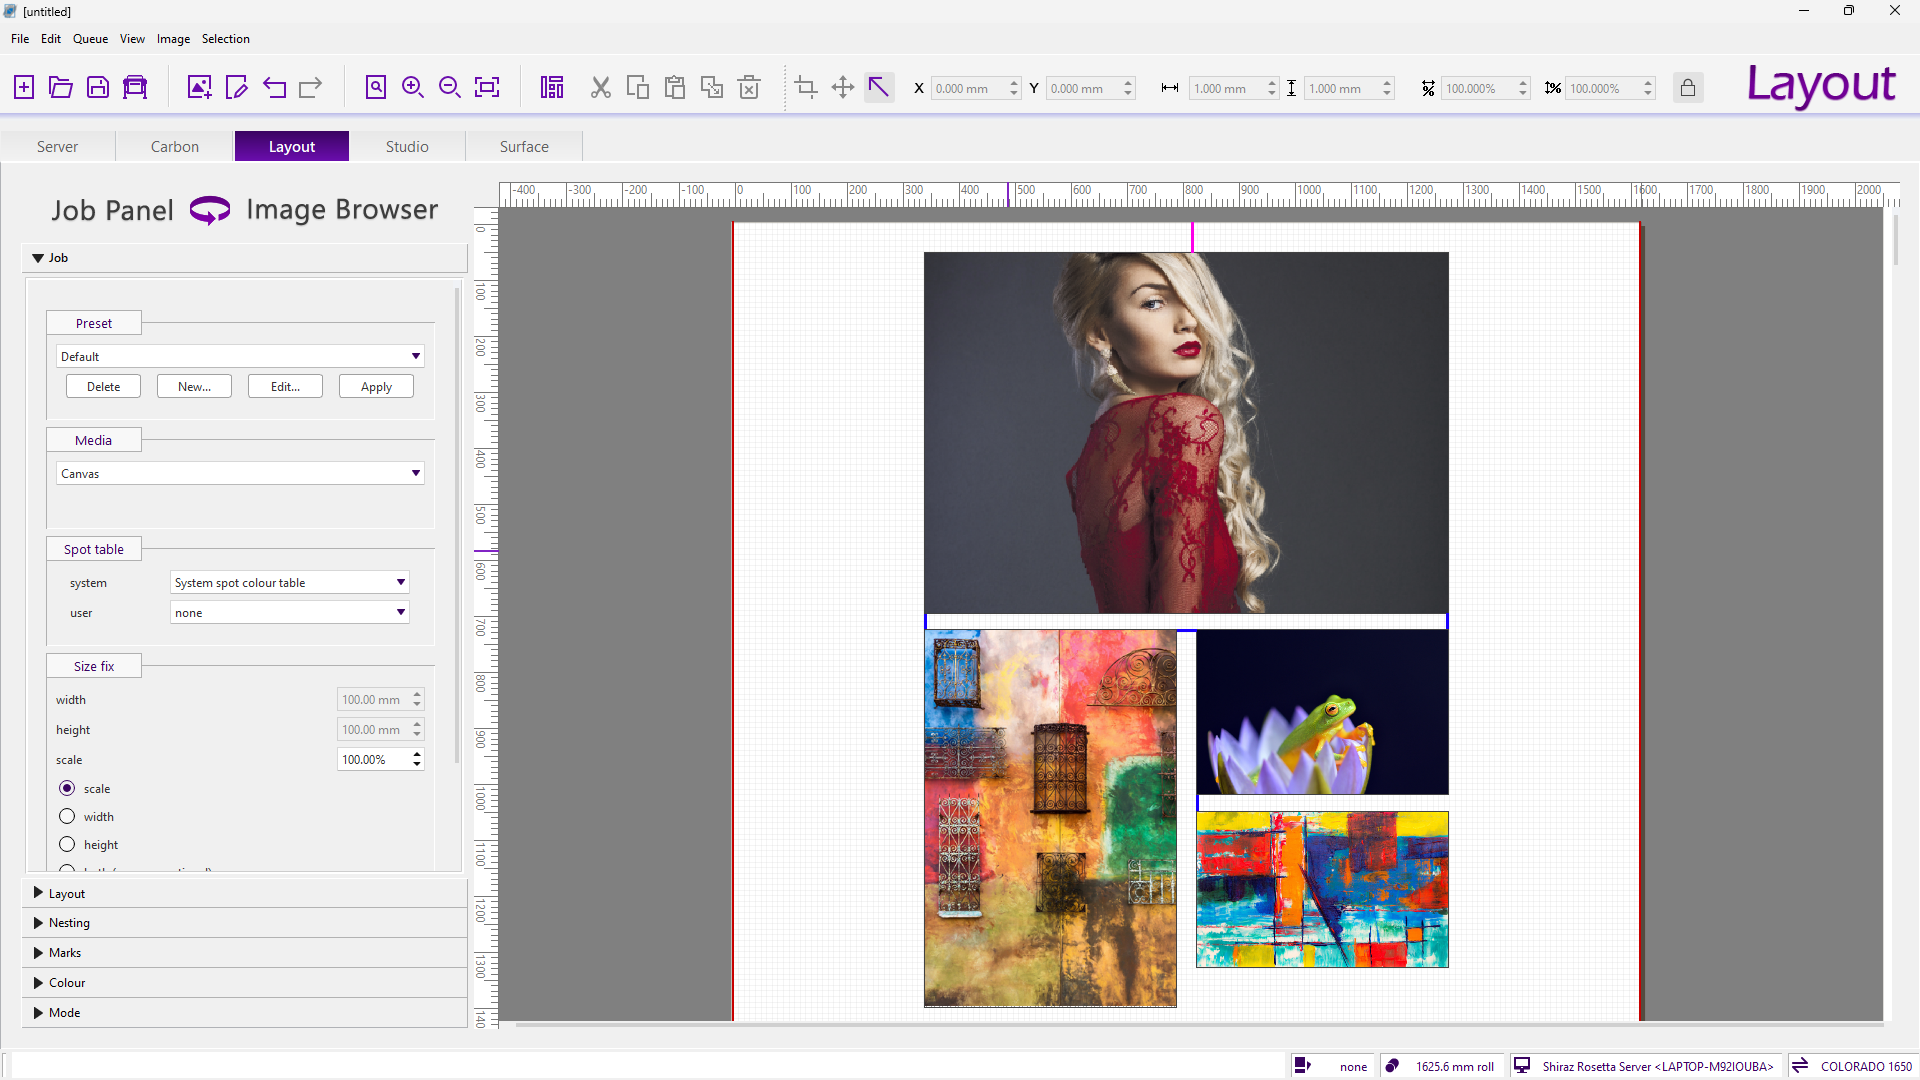
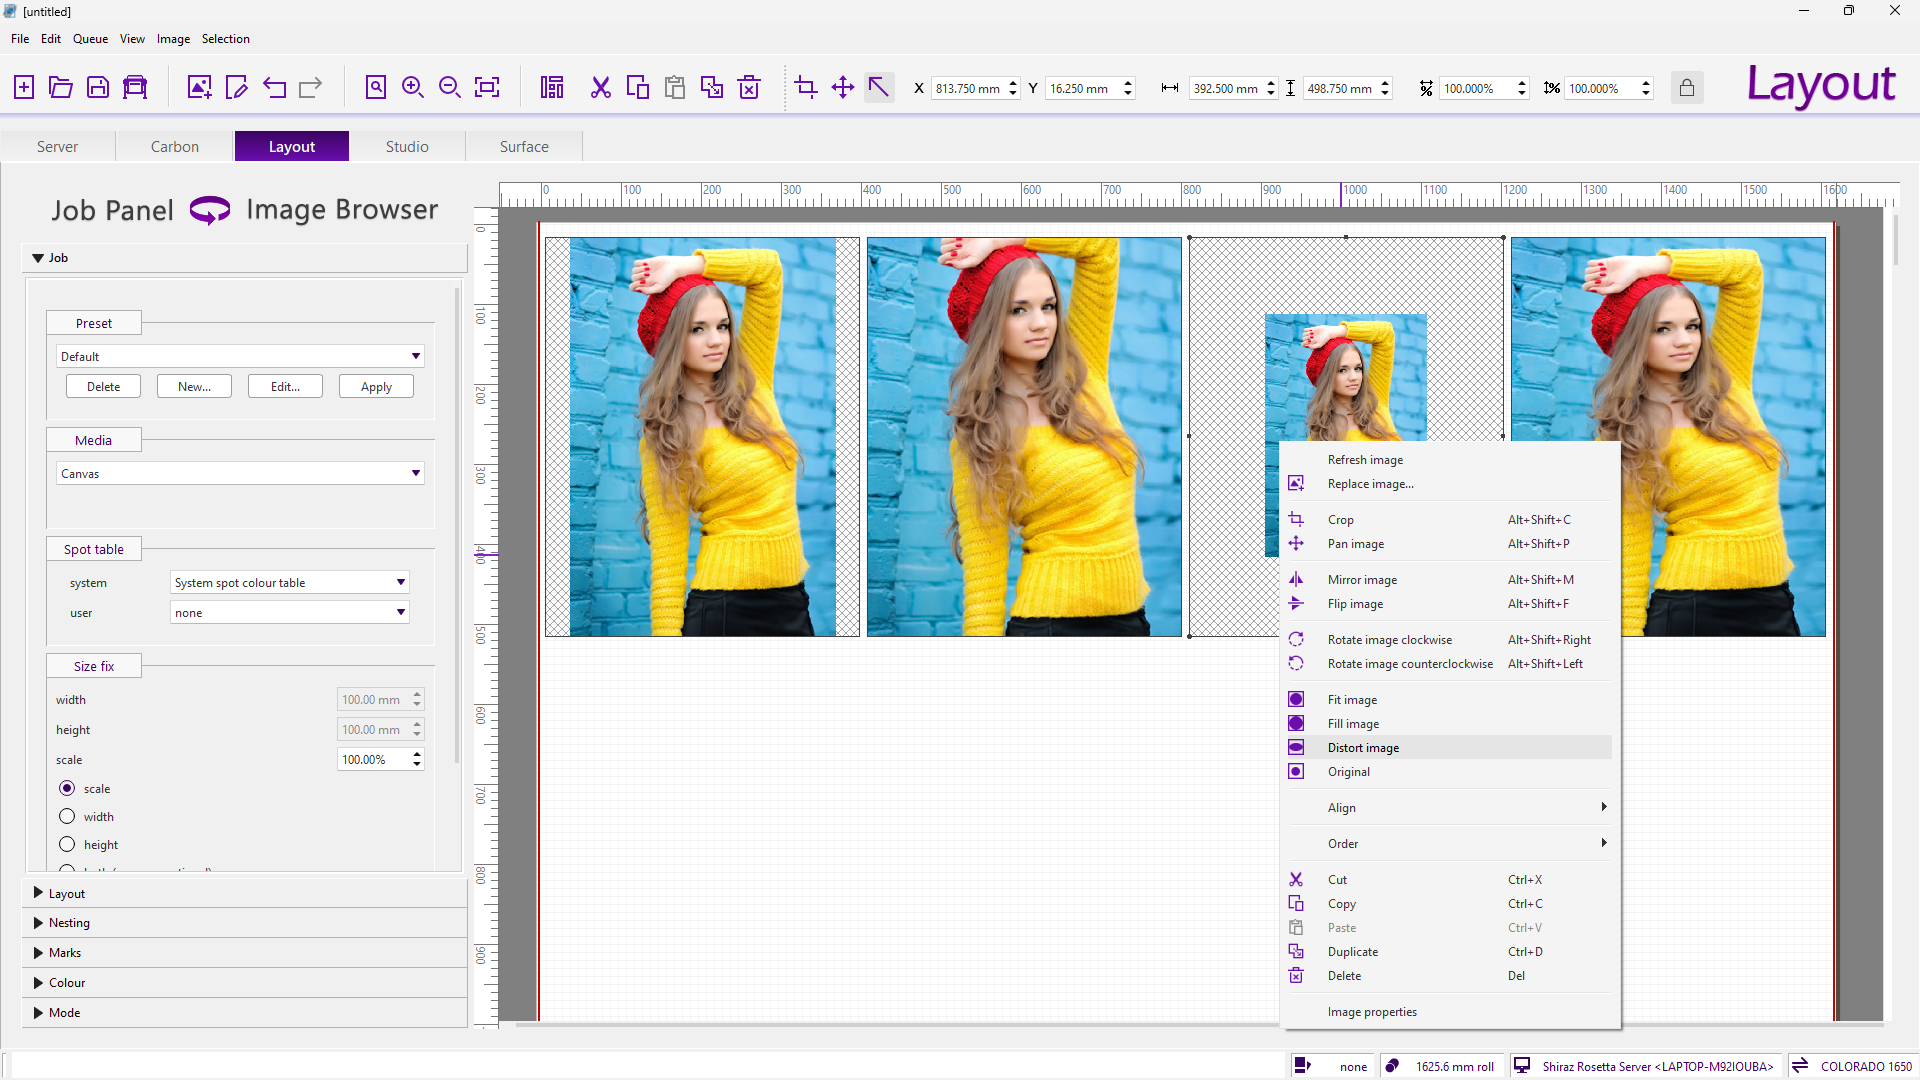
This powerful feature enables operators to position and fit images very accurately on user defined panel sizes. These can be fitted to the panels in various ways to suit the production requirements. The four fitting options available are , Fit, Fill, Distort and Original. Additionally it is possible to use the Pan function to move the image within the panel area if required. By utilizing this tool it is possible to easily and quickly apply images to standard panel sizes regardless of their original dimensions. This is particularly useful when creating point of sales display panels.
06 Job Presets
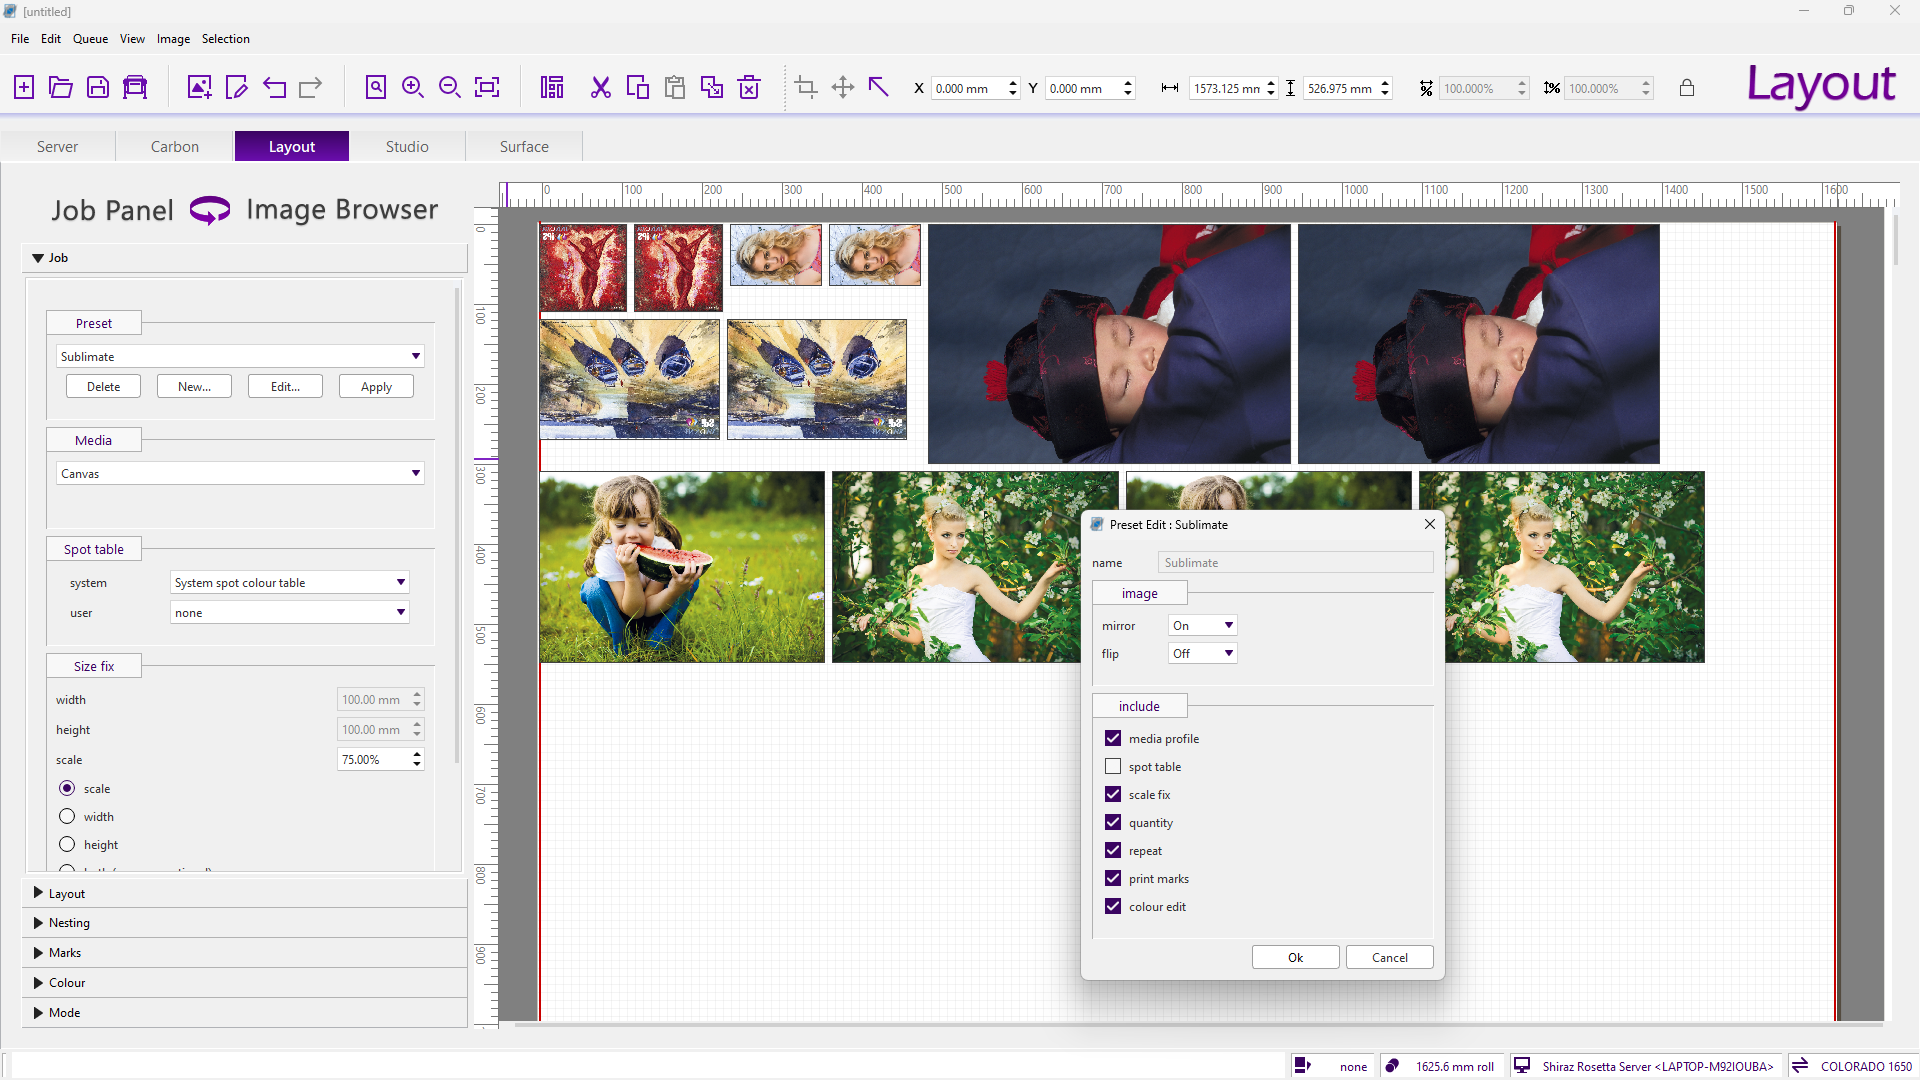
Save all the job parameters under a user-defined preset name that can then be applied to all the selected images easily and quickly. This extremely useful feature enables users to apply a number of settings to images in a batch mode ensuring that repetitive print jobs are accurately and quickly setup ready for production. These settings include job sizing, colour edits, print marks, mirroring and flipping, quantity and many others. Presets can be created, edited and removed by users as needed.
07 Marks & Labels
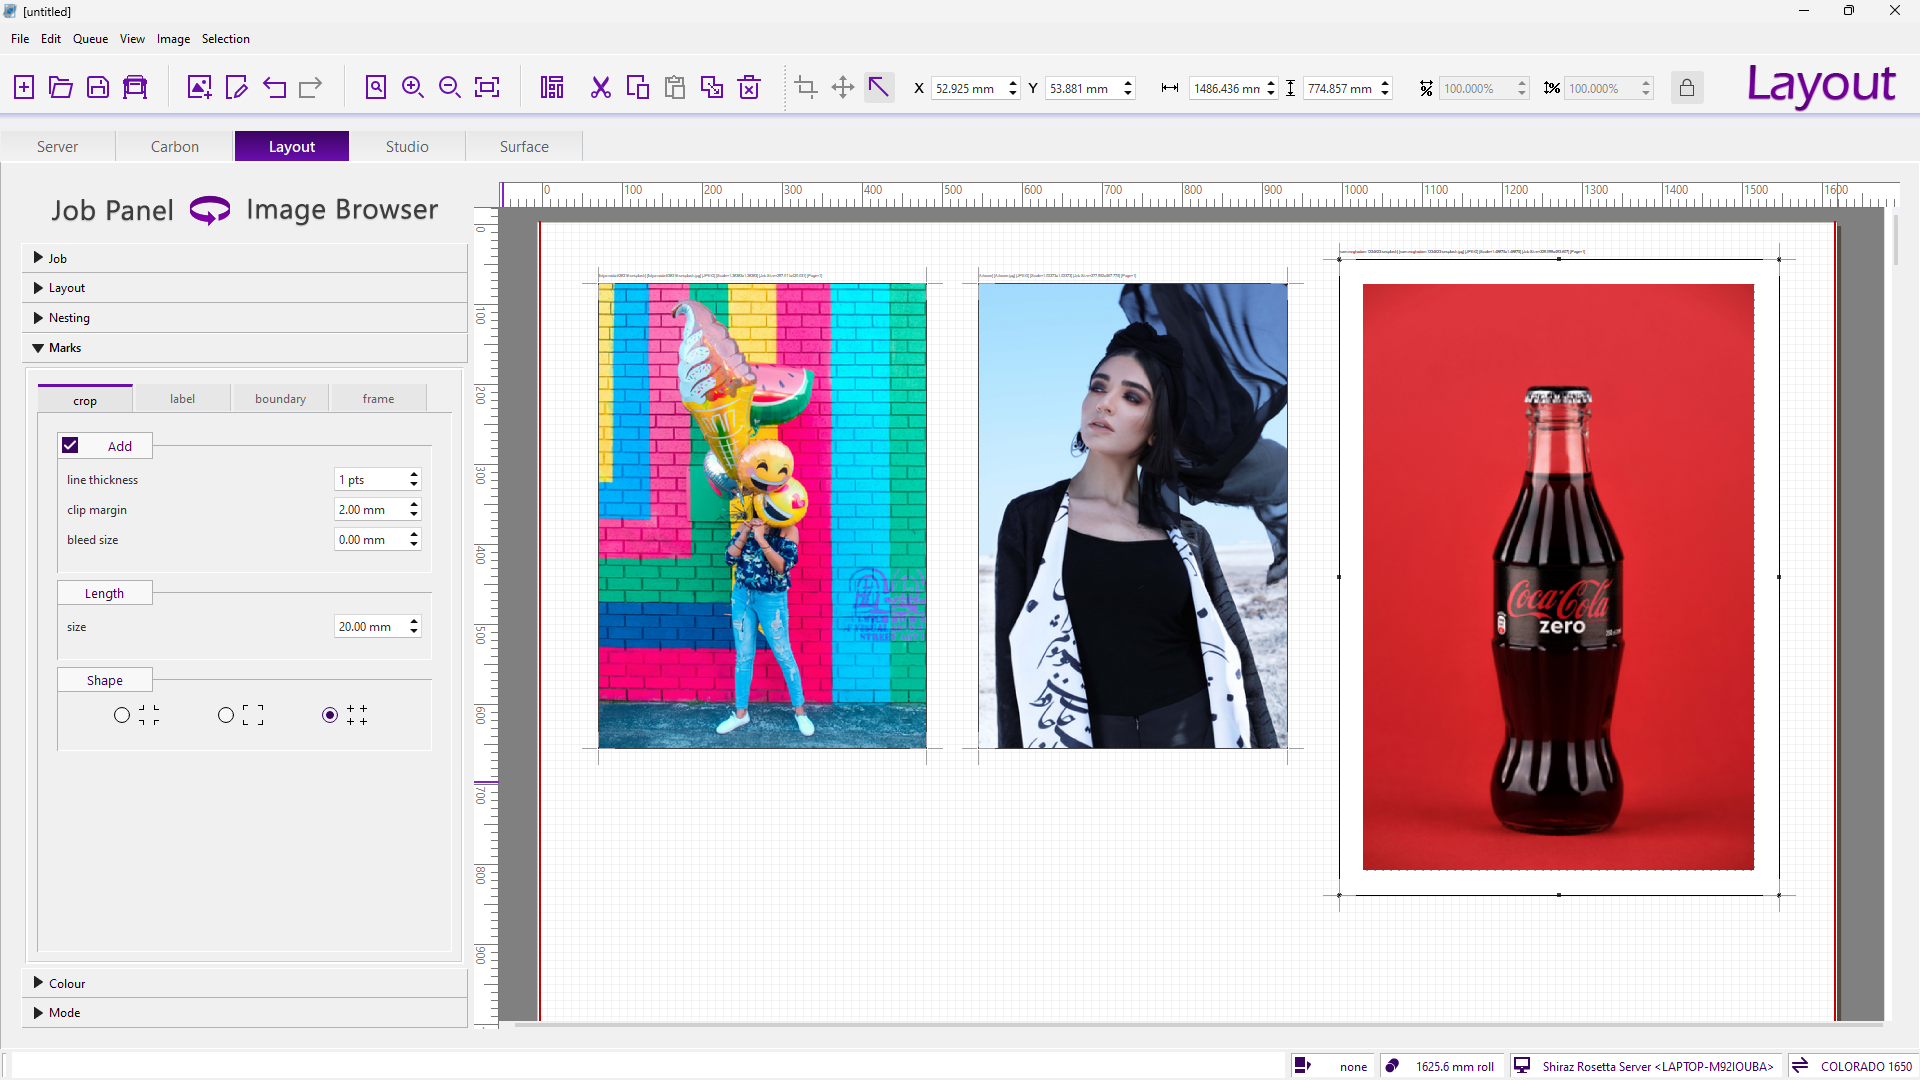
Cut marks and job labels can be defined and placed on the boundaries of the images to aid for easy finishing and trimming. Additionally user-defined frames can be applied to selected images if required. For tilling panels the overlap area are indicated by placing the appropriate marks to ensure accurate placement. User specified text can be overlaid on actual images for proofing and customer approval purposes. To aid print & cut workflow specific printer’s marks can be placed around individual images.
08 Alignment Guides
All possible alignments with respect to other objects and page are indicated by the system to ease the positioning of images on the layout. This also applies to images while being resized as well as highlighting any matching gaps between adjacent objects. All current alignments can be shown if required to confirm the layout.
09 Crop & Pan
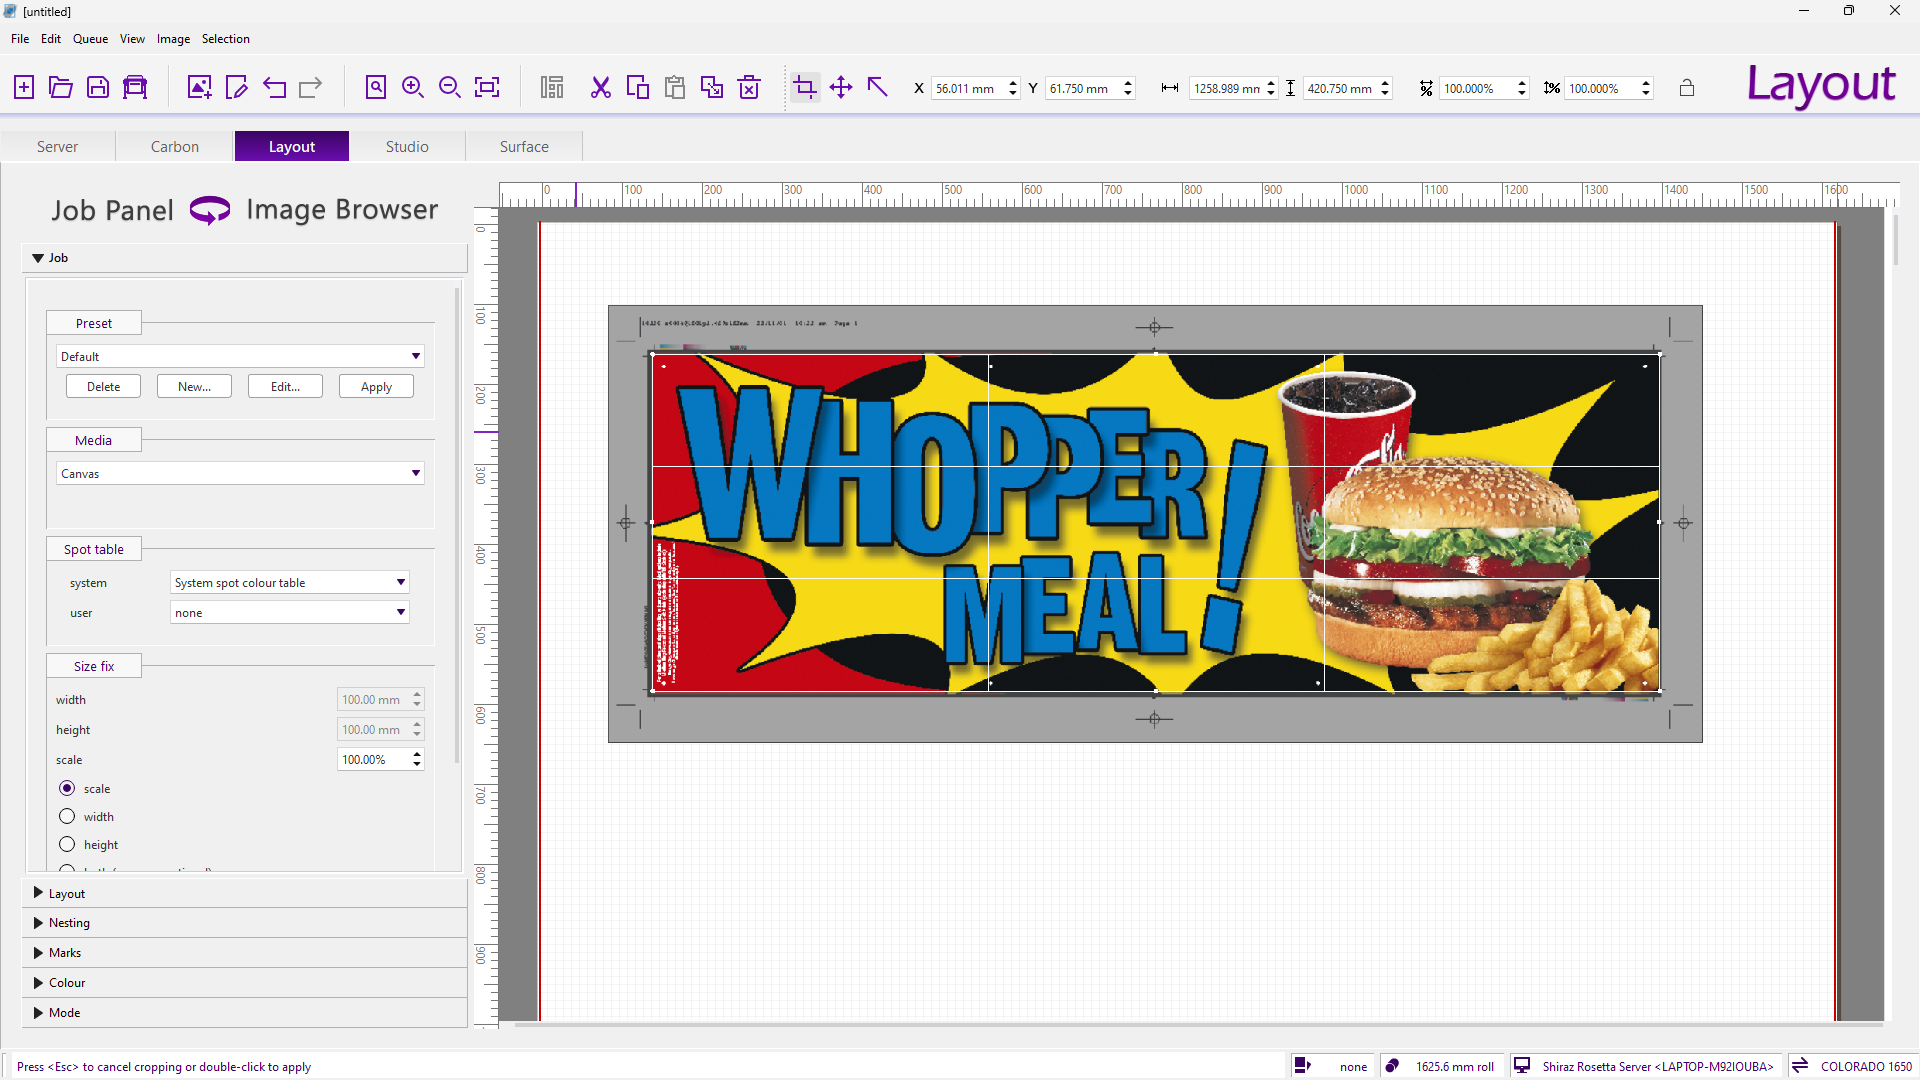
This function enables users to interactively crop images as required. The system displays a crop guide overlay of Rule Of Thirds that help you place composition elements at 1/3 increments. The cropping shield shades the image area that will be deleted. The exact crop dimension and its coordinates can be entered manually if required. The image within the crop area can be altered and moved as needed after cropping by using the Pan function.
10 Halftone Separations
Automatically creates 4 colour CMYK separations for film output and screen printing. User can define the angles, frequency and spot shapes for each plane. Registration marks for precise alignment can be added to each separation as well as colour bars for proofing purposes. Dot gain curves and linearization tables can be created by using appropriate instruments that will then compensate for dot gains of inks on the media. For richer black with higher density on films user can instruct the RIP to print using multiple channels rather than black only inks. Utilise the Accurate Screening option to generate higher quality halftone dots.